How to Build a Rechargeable Flashlight with Built-in Battery
Introduction to Building Your Own Flashlight
Welcome to the exciting world of DIY flashlight building! In this guide, we will explore the rewarding process of creating your own Build-in Battery Rechargeable Flashlight. But why should you choose a rechargeable system for your flashlight? Well, let's delve into the benefits.
Why Choose a Build-in Battery Rechargeable Flashlight?
Benefits of a Rechargeable System
A Build-in Battery Rechargeable Flashlight offers the convenience of being able to recharge and reuse it multiple times, reducing the need for disposable batteries. This not only saves money in the long run but also contributes to environmental sustainability by minimizing battery waste.
The Joy of DIY Projects
Embarking on a DIY flashlight project provides a sense of accomplishment and satisfaction. It allows you to customize your flashlight according to your preferences and learn about the intricate workings of such devices. The joy of creating something with your own hands is truly unparalleled.
What You'll Learn in This Guide
In this comprehensive guide, you will learn how to select the right components, assemble them effectively, and troubleshoot common issues that may arise during the process. By the end, you'll have gained valuable insights into electronics and craftsmanship while holding a functional Build-in Battery Rechargeable Flashlight in your hands.
Gathering Your Materials
Before diving into the assembly process, it's crucial to gather all the necessary materials and tools for your Build-in Battery Rechargeable Flashlight. Let's take a look at the essential components and tools you'll need to bring your DIY flashlight to life.
Essential Components for Your Flashlight
Choosing the Right Build-in Battery
When selecting a build-in battery for your rechargeable flashlight, opt for a high-quality lithium-ion battery with a capacity that suits your intended usage. Consider factors such as voltage, milliampere-hour (mAh) rating, and size to ensure compatibility with your flashlight design.
Selecting LEDs and Circuitry
The heart of your flashlight lies in the choice of LEDs and circuitry. Look for high-efficiency LEDs that provide ample brightness while conserving power. Additionally, carefully select circuitry components such as resistors and capacitors to regulate the flow of electricity and protect the LEDs from damage.
Tools You'll Need
Basic Hand Tools
To assemble your rechargeable flashlight, you'll require basic hand tools including screwdrivers, pliers, wire cutters, and soldering equipment. These tools will aid in connecting components, securing parts in place, and ensuring proper electrical connections during assembly.
Safety Equipment
Prioritize safety by equipping yourself with safety gear such as protective eyewear, gloves, and a well-ventilated workspace. Soldering fumes can be harmful if inhaled, so adequate ventilation is essential to maintain a safe working environment.
Now that you have an understanding of the essential components and tools needed for this project let's move on to assembling your Build-in Battery Rechargeable Flashlight.
Assembling Your Build-in Battery Rechargeable Flashlight
Now comes the exciting part of putting together your Build-in Battery Rechargeable Flashlight. This section will guide you through the essential steps to prepare the housing, wire the components, and add those finishing touches that will make your DIY flashlight truly unique.
Preparing the Housing
Cutting and Shaping the Body
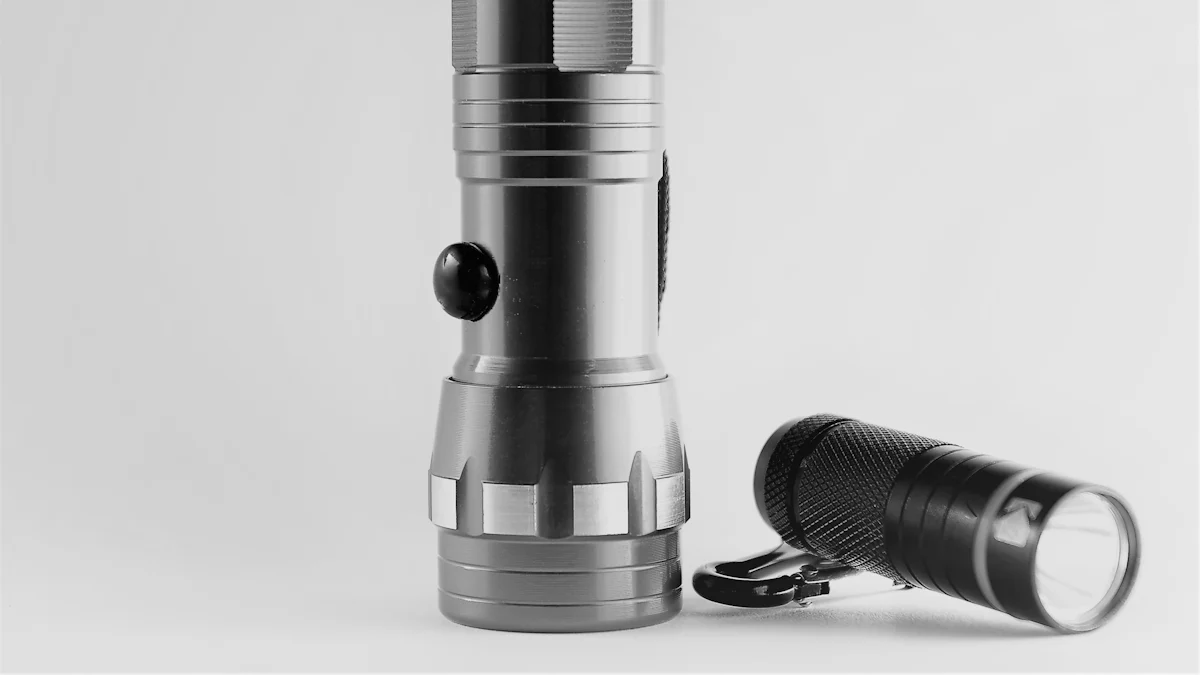
The first step in preparing the housing for your flashlight involves carefully cutting and shaping the body. Depending on your design preferences, you can use a durable material such as aluminum or plastic to create a sturdy yet lightweight housing for your Build-in Battery Rechargeable Flashlight.
Installing the Switch and Magnet
Next, it's time to install the switch and magnet within the housing. The switch will serve as the control mechanism for turning the flashlight on and off, while the magnet will provide a convenient way to attach your flashlight to metallic surfaces for hands-free illumination.
Wiring the Components
Connecting the LED to the Battery
Carefully wire the LED to the build-in battery using insulated conductive wire. Ensure that the LED is securely connected to the battery, allowing for a reliable power supply that delivers consistent brightness when in use.
Ensuring Proper Circuitry
Verify that all circuitry components are properly connected and secured within the flashlight housing. Double-check for any loose connections or exposed wiring that could potentially cause malfunctions during operation.
Adding the Finishing Touches
Securing the Components
Take time to secure all components within the flashlight housing using appropriate fasteners or adhesives. This ensures that internal parts remain in place even when subjected to movement or impact.
Customizing Your Flashlight
Finally, consider customizing your Build-in Battery Rechargeable Flashlight with personal touches such as engraved markings, colored accents, or a textured grip. These customizations not only add aesthetic appeal but also make your flashlight uniquely yours.
By following these steps, you'll be well on your way to completing your very own Build-in Battery Rechargeable Flashlight, tailored to meet your specific needs and preferences.
Testing and Troubleshooting
Now that you've successfully assembled your Build-in Battery Rechargeable Flashlight, it's time to conduct initial testing to ensure everything is functioning as intended. Additionally, we'll explore common issues that may arise during the testing phase and how to troubleshoot them effectively.
Initial Testing
Checking the Electrical Connections
Begin by carefully inspecting all electrical connections within your flashlight. Ensure that wires are securely attached to their respective components and that there are no loose connections or exposed wiring. A thorough check of the electrical connections will help prevent potential malfunctions during operation.
Testing the Light Output
Once you've verified the integrity of the electrical connections, it's essential to test the light output of your rechargeable flashlight. Find a dark or dimly lit area and activate the flashlight to observe the brightness and beam quality. This step allows you to confirm that the LED, battery, and circuitry are working harmoniously to produce a reliable light source.
Troubleshooting Common Issues
Dealing with Dim Light
If you encounter dimness in the light output, first ensure that the battery is adequately charged. Dim light can often be attributed to a low battery level. If the battery charge is sufficient, inspect the LED for any signs of damage or wear. Replacing a worn-out LED can significantly improve light output.
Resolving Battery Charging Problems
Should you experience difficulties with charging your build-in battery, start by checking the charging cable and power source for any issues. Ensure that both are functioning correctly and that there are no loose connections. If problems persist, consider consulting the manufacturer's guidelines for troubleshooting specific to your rechargeable battery model.
In case these troubleshooting steps do not resolve the issues with your Build-in Battery Rechargeable Flashlight, don't hesitate to seek assistance from experienced DIY enthusiasts or reach out to online communities dedicated to flashlight building. Remember, overcoming challenges in DIY projects is an opportunity for learning and skill development.
By conducting thorough testing and addressing common issues proactively, you'll be well-equipped to enjoy reliable performance from your newly built rechargeable flashlight.
Wrapping Up
Congratulations on successfully building your very own Build-in Battery Rechargeable Flashlight! Now that you have this impressive creation in your hands, let's explore the practical uses for your DIY flashlight and consider the next steps in your DIY journey.
Enjoying Your New Flashlight
Practical Uses for Your DIY Flashlight
Your newly crafted Build-in Battery Rechargeable Flashlight is a versatile tool with a wide range of practical applications. Whether you're exploring the great outdoors, navigating through power outages, or working on intricate projects in dimly lit spaces, your flashlight will serve as a reliable source of illumination. Additionally, it can be an essential addition to emergency kits and vehicle glove compartments, ensuring you're prepared for unexpected situations.
Sharing Your Creation with Others
As you bask in the satisfaction of completing this DIY project, consider sharing your experience and showcasing your rechargeable flashlight to friends and family. By demonstrating the functionality and unique features of your creation, you may inspire others to embark on their own DIY endeavors or kindle an interest in electronics and craftsmanship.
Next Steps in Your DIY Journey
Advanced Modifications
Now that you've mastered the art of building a Build-in Battery Rechargeable Flashlight, consider exploring advanced modifications to further enhance its capabilities. You might delve into incorporating additional lighting modes, integrating power-saving features, or even designing custom accessories to complement your flashlight.
Other DIY Projects to Consider
Beyond flashlight building, there are countless other exciting DIY projects awaiting your creativity and expertise. From constructing solar-powered gadgets to crafting personalized home decor items, the world of do-it-yourself ventures is brimming with possibilities. Embrace new challenges and continue expanding your skills by venturing into diverse DIY projects that pique your interest.
As you reflect on this rewarding experience and contemplate future endeavors, remember that each project contributes to your growth as a skilled artisan. Embrace the journey ahead with enthusiasm and curiosity, knowing that every creation is a testament to your ingenuity and determination.
See Also
Selecting the Correct Li-ion Flashlight Battery Charger: An In-Depth Manual
Contrasting Rechargeable Flashlight versus Traditional: Which One is Superior?
Locating Trustworthy Wholesale Vendors for Flashlight Battery Chargers
The Significance of Anti-Backward Charging for Wholesale Flashlight Chargers
Enhancing Performance: Selecting High-Quality Batteries for Bulk Flashlights